

Piere imports your transaction data from two sources: from your linked accounts via our third party aggregator service, and from manual transactions you’ve created within the app. The app allows you to edit certain details of each transaction such as tags, category, merchant name, description, and attachments.
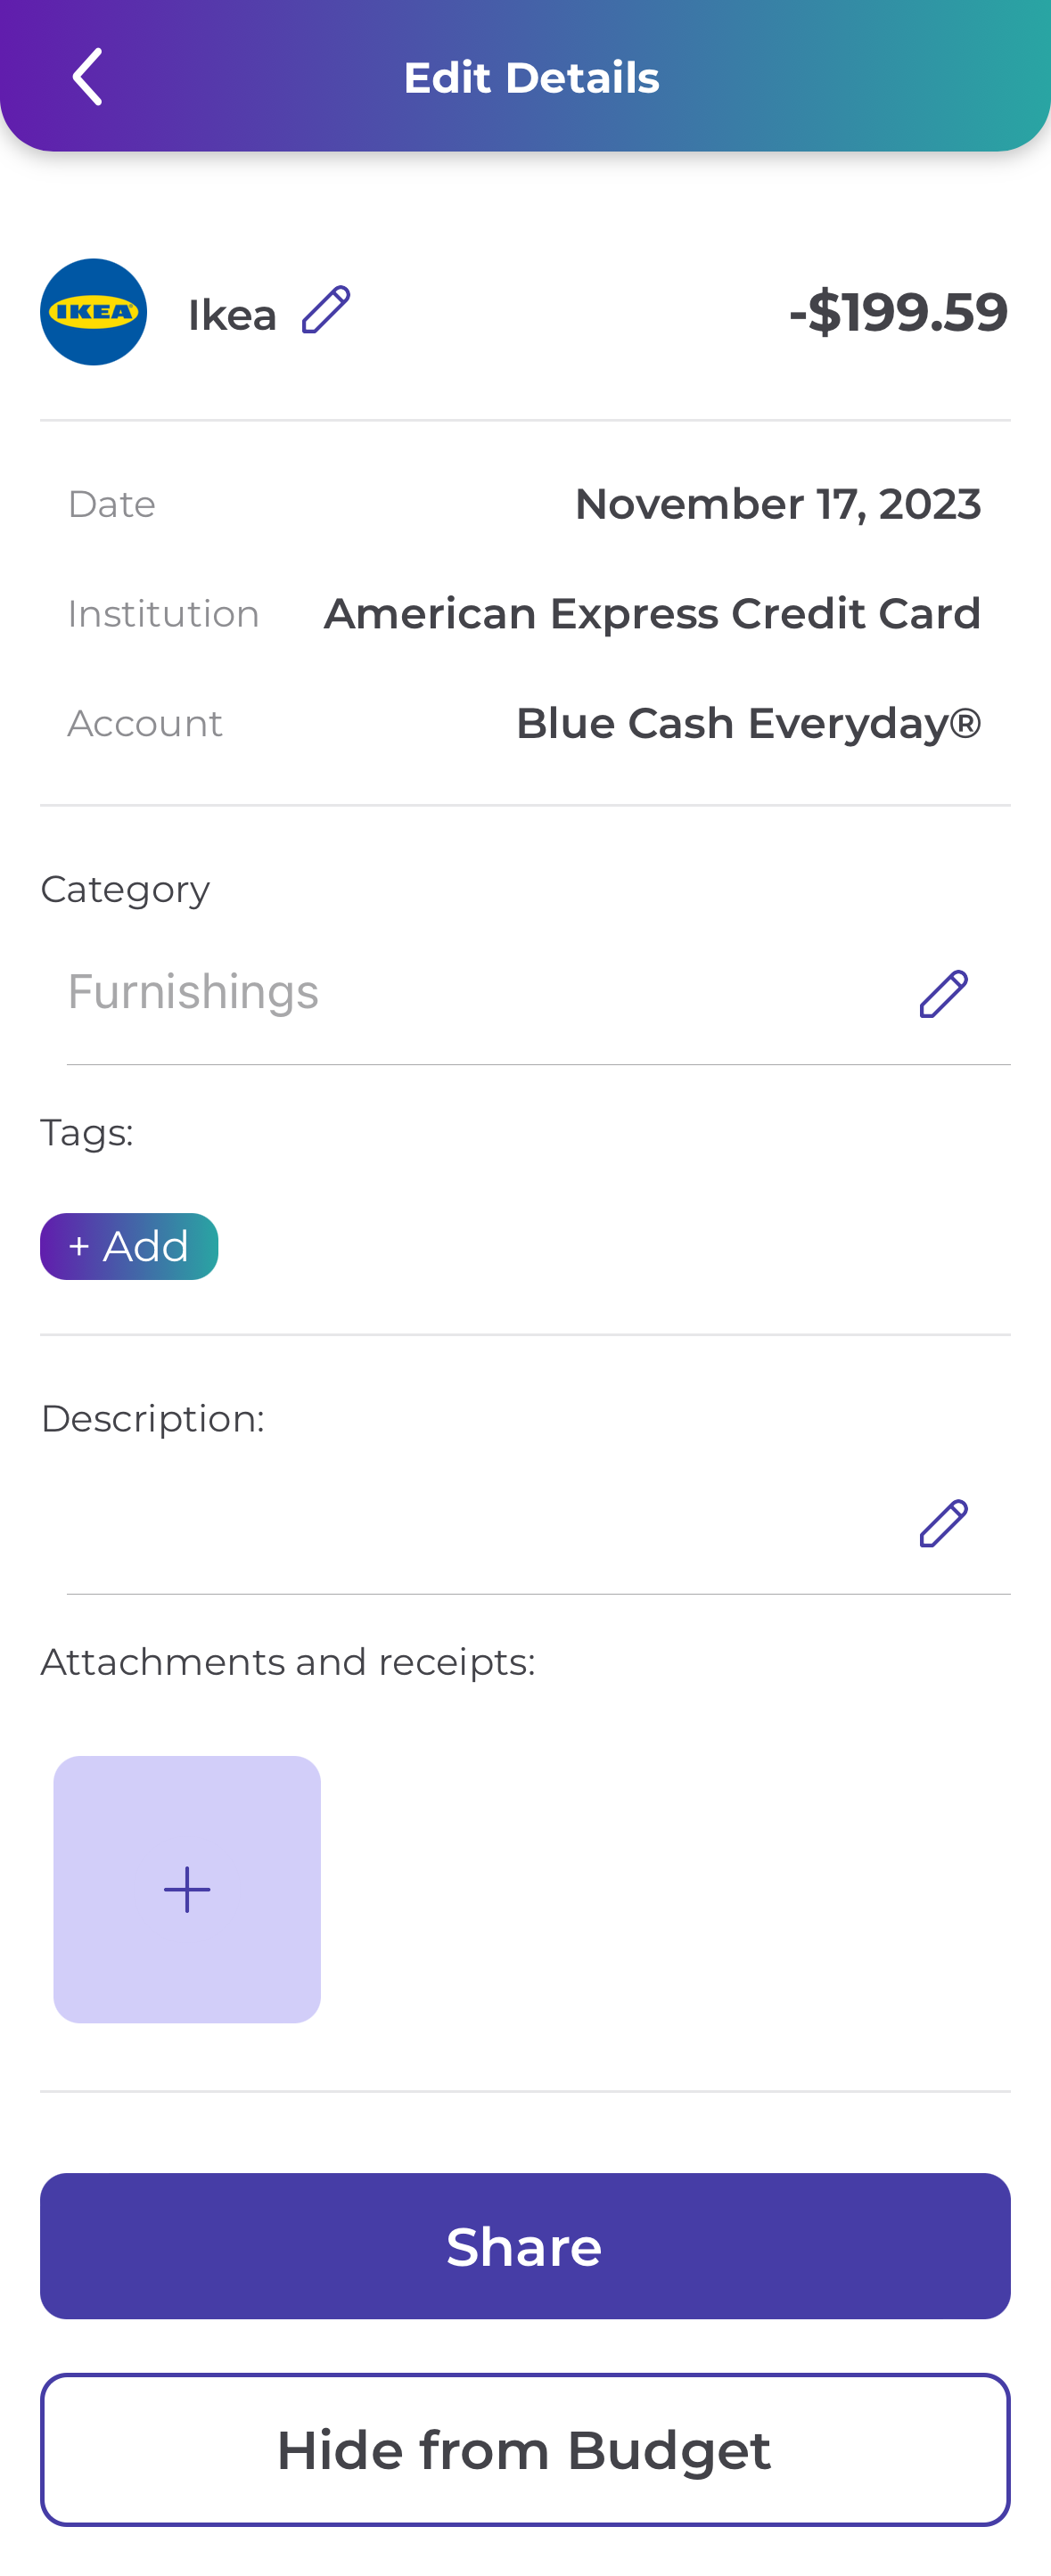
The beginning point of most transaction customizations is the transaction Edit Details page.
#
Updating the transaction/merchant name and description #
Note: Before starting, familiarize yourself with the location of the transaction Edit Details page. Every aspect of a single transaction can be edited from here.
Sometimes the name of a merchant or the description of a transaction aren’t the most complete or descriptive. This information is sourced directly from your connected accounts and is reported to your financial institution by the merchant. Within Piere, you have the ability to customize this information to something that makes sense to you.
- To update the transaction or merchant name, first open the transaction Edit Details page. Do this by navigating to Home > See all transactions and then tap the transaction that needs updating. Next, tap the pencil icon next to the transaction name. From here you can enter the name you prefer and be sure to save before exiting.
- The process of updating the description for any transaction is the same as above, and as always, save before you exit.
How do I add tags to my transactions? #
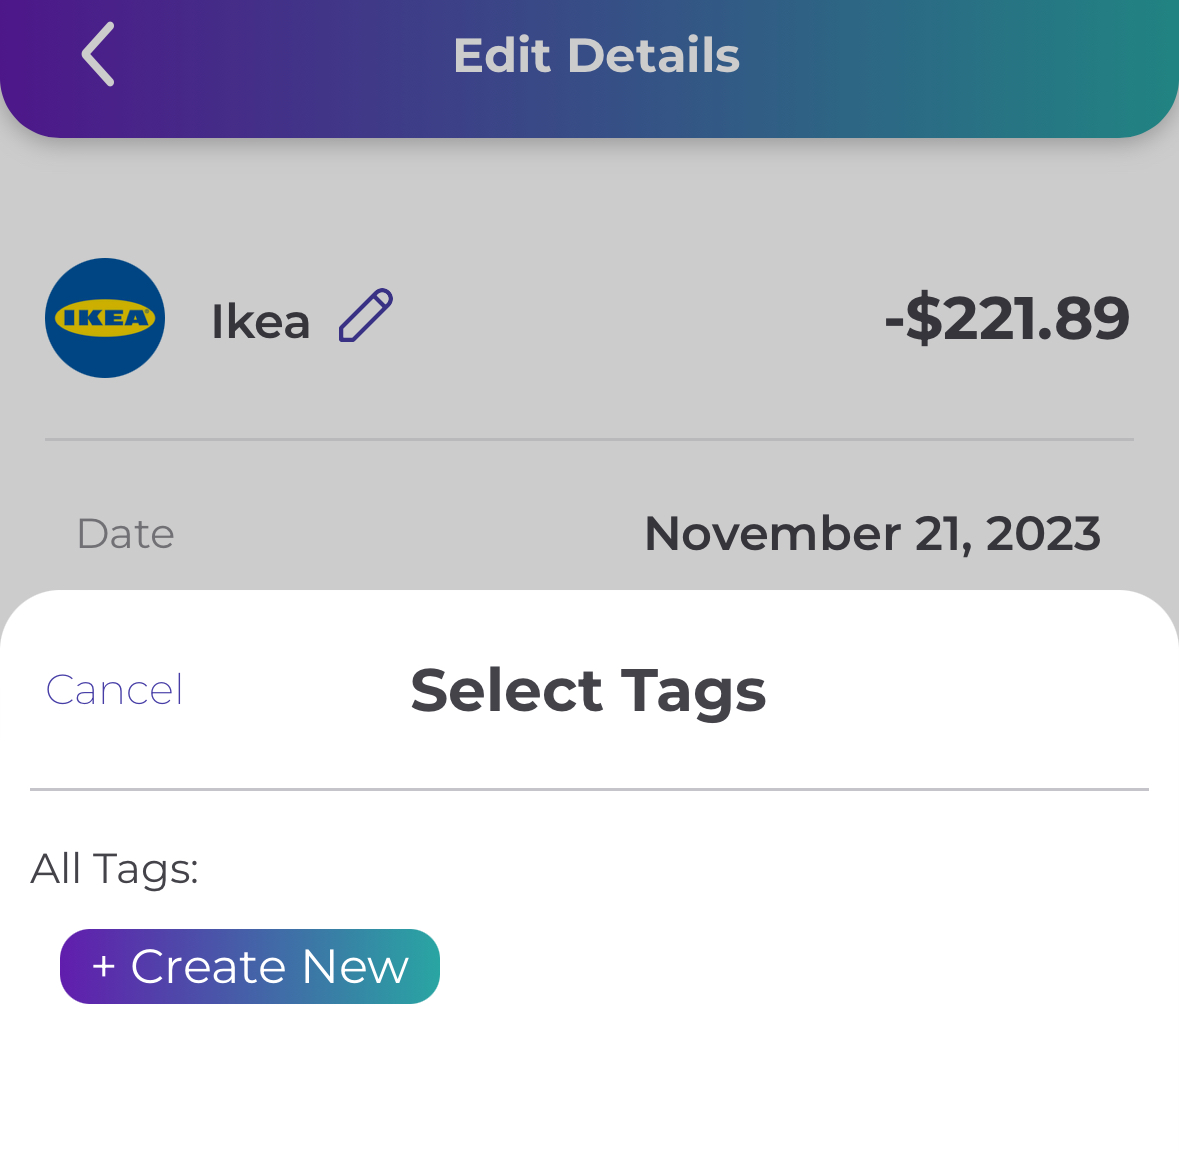
- From the Home tab, tap “See all transactions” and tap on the transaction you’d like to tag. From here you can create a new tag or select a previous tag that you’ve created before.
Adding attachments or receipts to a transaction #
- For important documents or receipts that you need to keep with a transaction, Piere allows you to attach these in the same way you’d upload a photo to social media. From the transaction Edit Details page, scroll to the bottom and click the purple “+” under “Attachments and receipts.” The app will ask your permission to access your photos if this is your first time doing this. Once it has permission, select the photo from your device’s camera roll to upload. There is no need to save one you’ve finished.

Edit a transaction category #
- To change the category for a particular transaction, navigate to the transaction Edit Details page, then click the pencil icon next to the category name. Choose the correct category from the list or create a new category, then save before exiting.
Have a question that you don’t see the answer to? Submit a request and someone from our team will get back to you!