

In this article you’ll learn the basics of using Piere including connecting your accounts, working with categories, and other options for customization.
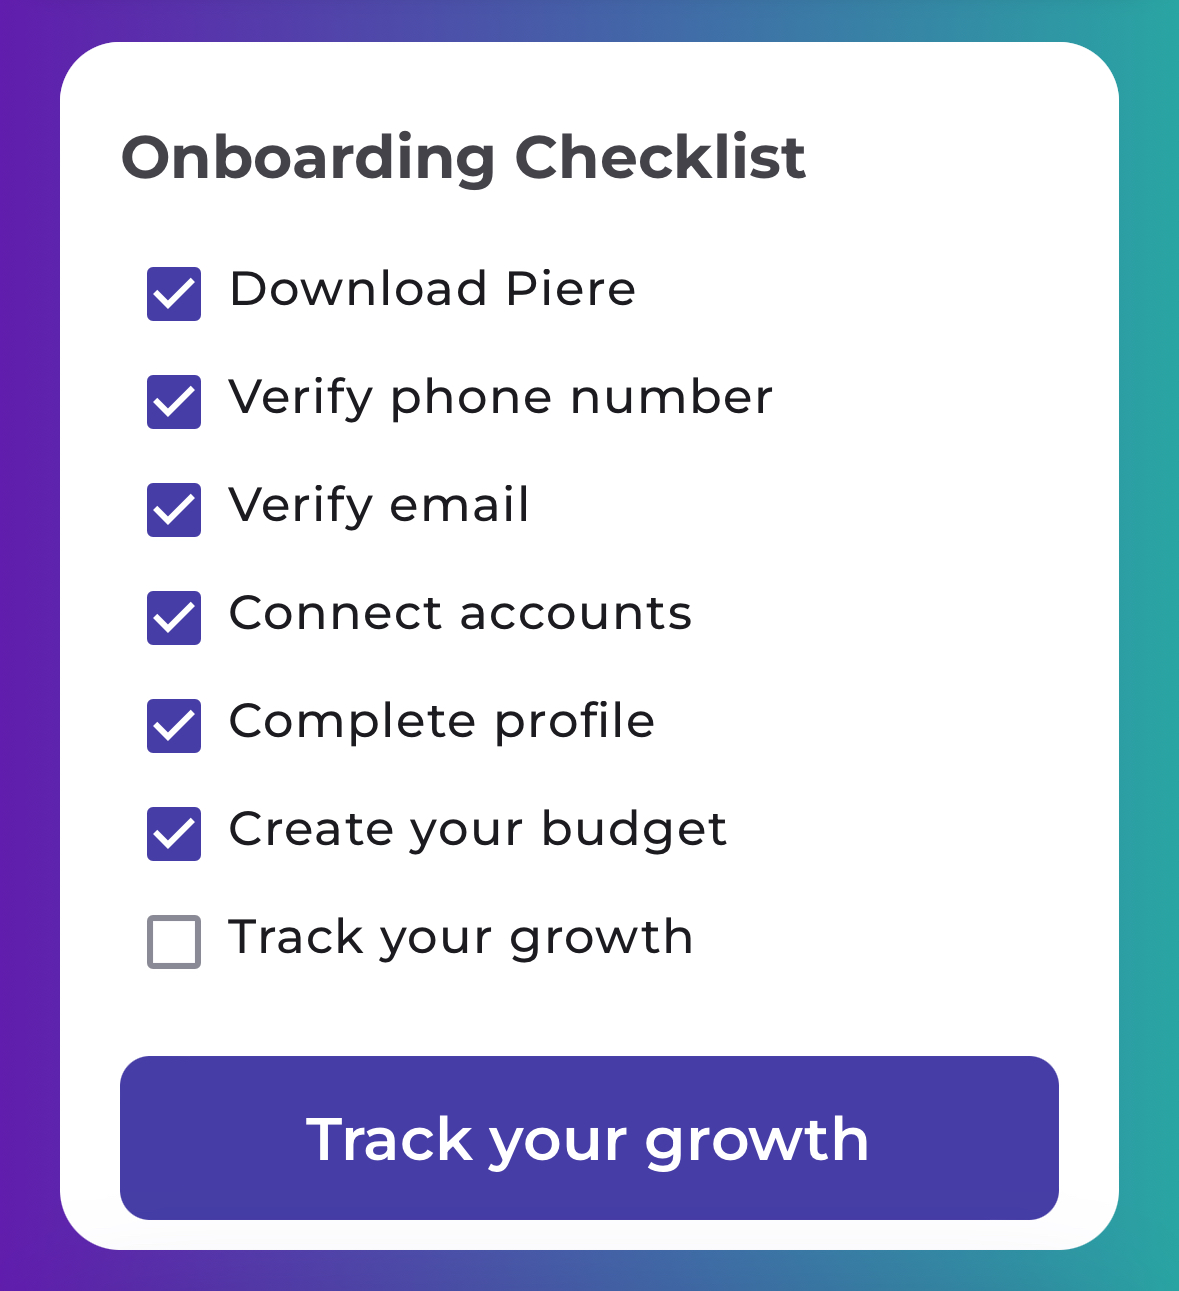
When you first log in to Piere you’ll see an onboarding checklist and have the ability to explore the app with sample data pre-populated in some features. After connecting your first account you’ll be able to start working with your own data and visualizing net worth, budget, and other insights.
Connecting Accounts #
In order for Piere to provide you with the most accurate picture of your finances, we advise connecting as many of your accounts as possible. Your main deposit account (checking/savings) and your primary credit card are excellent to begin with.
Adding your accounts #
- From the Profile tab you’ll see the option to add an account and to see all of your other connected accounts. From here you can rename accounts, choose to hide the account from your budget and net worth, and remove an account’s connection to the app.
What if my account disconnects or I just can’t connect to it? #
- If you experience an issue connecting to your account or otherwise see it being disconnected after you’ve successfully completed its connection to Piere, we do provide steps for troubleshooting this issue. If they don’t succeed, contact support. Alternatively, you may connect an account manually.
- For a list of account connection statuses you may see in the app along with their explanations, read this article.
Delete or disconnect an account from Piere #
- From the Profile tab you can access all of your accounts and may also delete them from Piere. Simply tap the name of the account in the list and select “Remove Account.” You may need to refresh the Piere app to see the account removed after you’ve taken this step.
- Note, deleting an account deletes all accounts from that Institution (e.g., if you “delete” your checking account from Sofi, you will also delete your investment and credit card accounts). If you want to “remove” just one account and keep the remaining accounts from that institution, we recommending hiding the account instead.
Refresh the Piere app #
- If you’ve connected an account to Piere that you don’t see yet, or if you’ve disconnected an account and still see it in the app, refreshing the app may help. To do this, navigate to the Profile tab. Next, hold your finger in the middle of the page and pull down until you see the page reload.
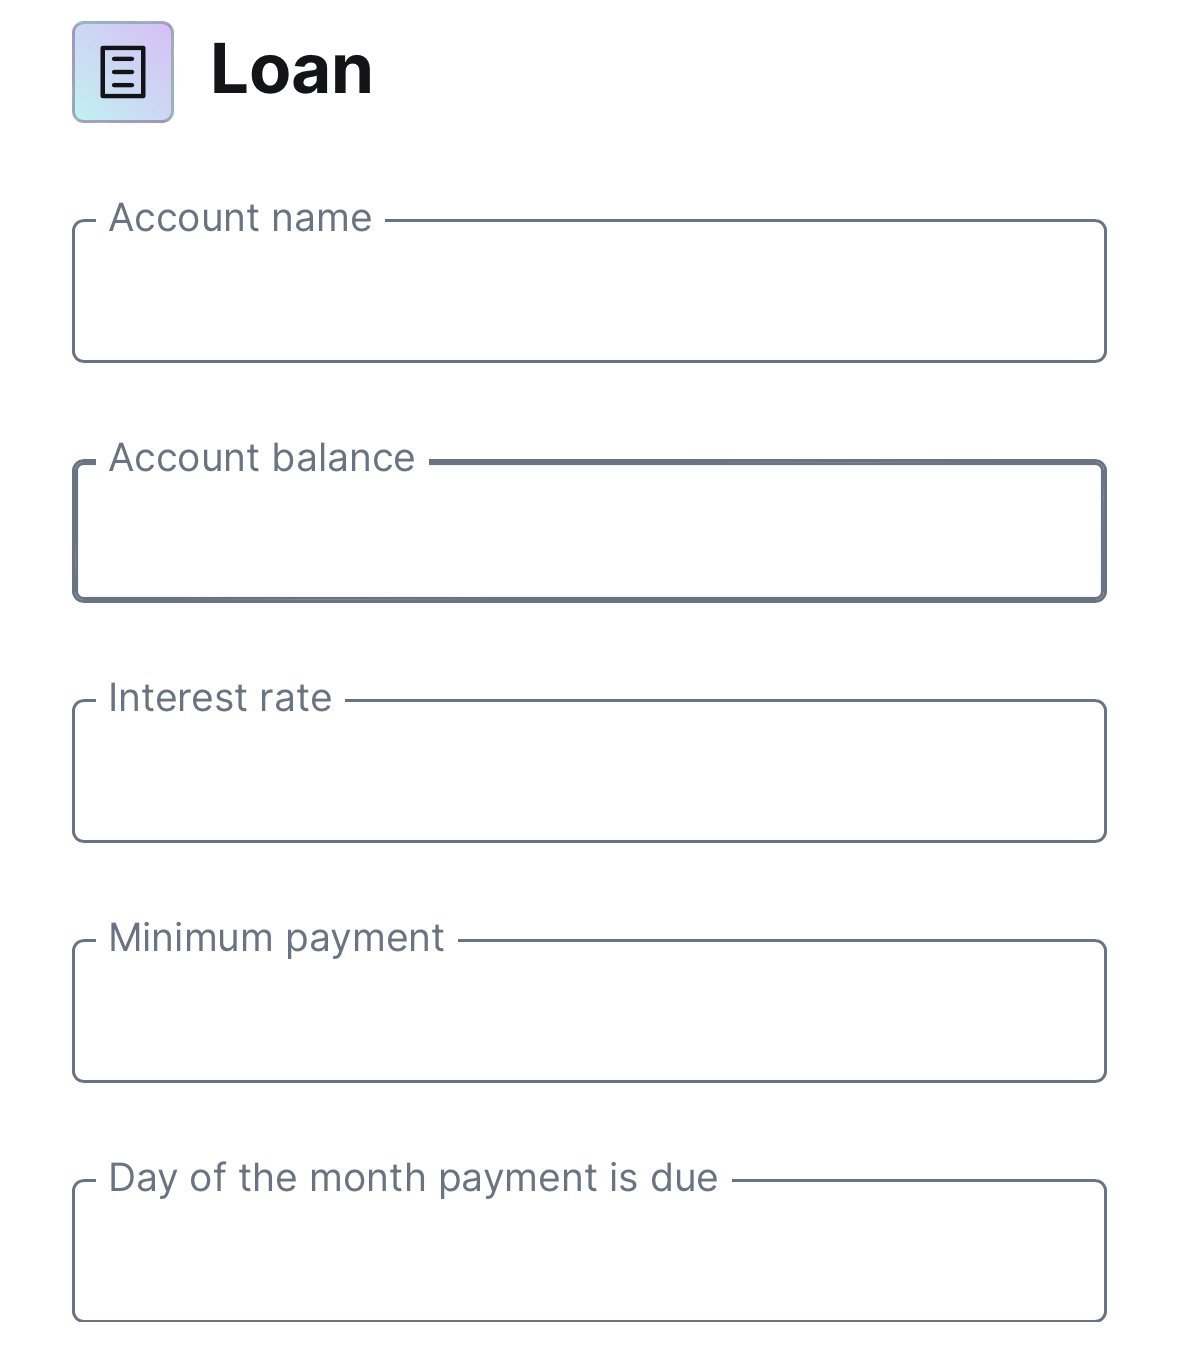
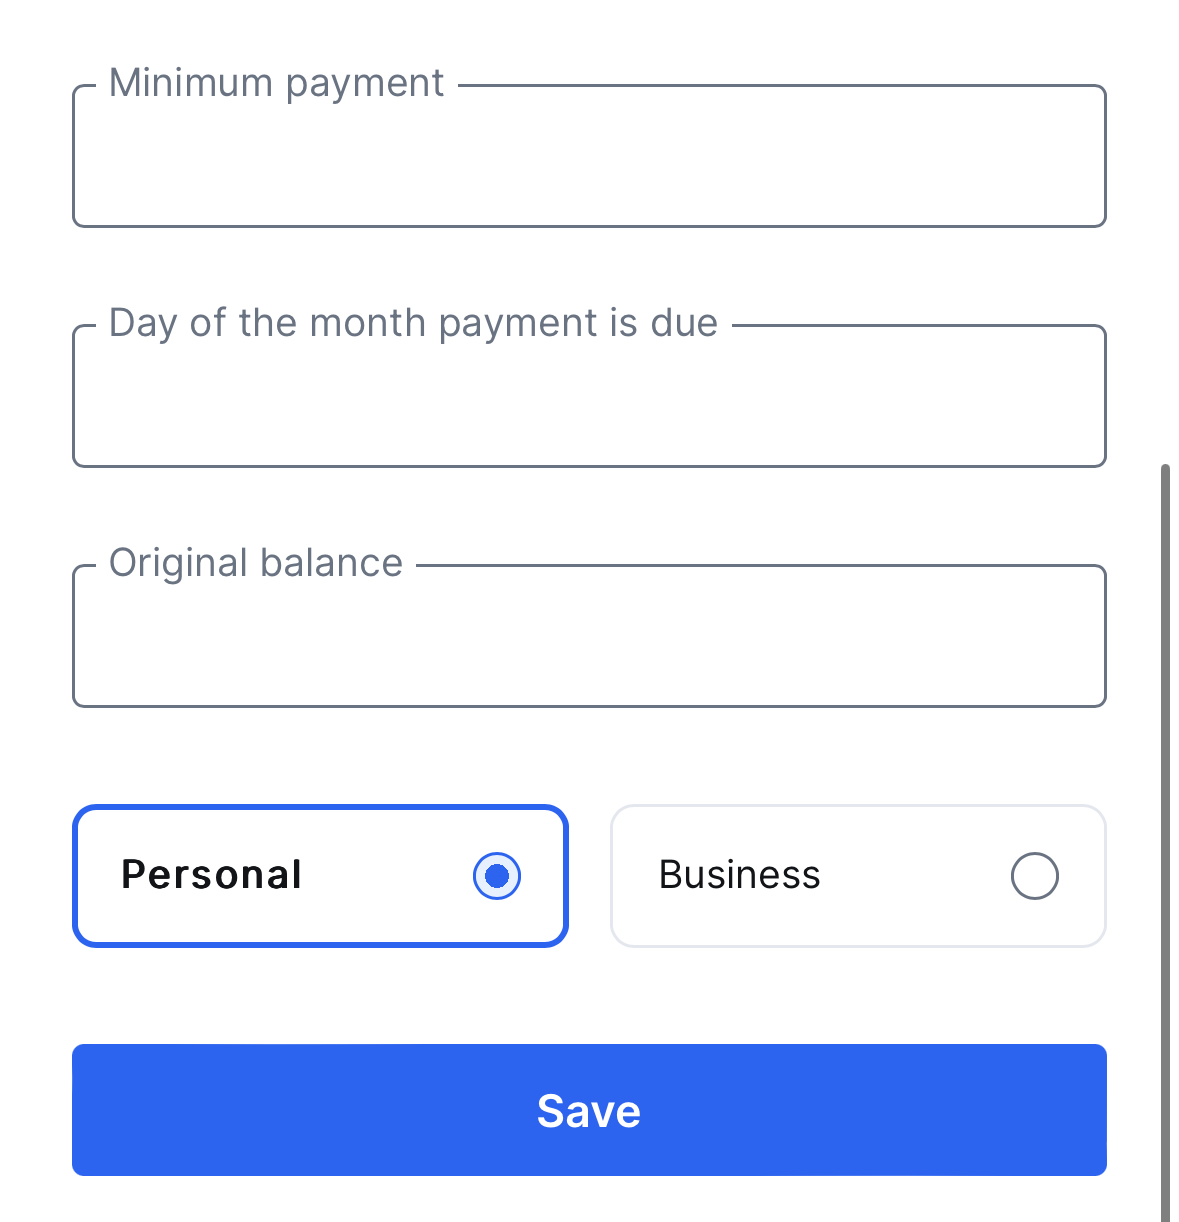
Add a manual account or balance #
- Adding a manual account in the app will allow you to track items in your budget and net worth that don’t have a live connection. Examples of these are property, cash, and any account at a bank not supported by our account connection provider.
- To add a manual account or balance, navigate to Profile > Add Account > (scroll to bottom of Add Account page) > Add account manually.
Why isn’t the balance of my manual account updating? #
- Because manual accounts don’t have a live connection to your bank or institution, Piere is unable to retrieve your balance as it changes. Read about manual accounts to learn how to update the balance of manual accounts.
Create Your Budget #
Piere is built around a core intelligence that proposes a budget automatically in just two taps. Of course, you can also customize the budget that Piere proposes, including editing the budgeted amounts and adding categories.
Add a budget #
- After you’ve connected all your accounts, navigate to the Budget tab and tap “Create My Budget.” Next, tap “Let’s Go!” and Piere will automatically analyze your accounts and will display a proposed budget.
- Before proceeding, examine the proposed budget and edit any of the values. To save the budget, click “Approve” at the bottom of the page.
NOTE: You can always change values and add new categories later if you’ve forgotten to do so at this step.
Recalculate budget #
- If your income or spending habits have changed or if you’ve added a new account, it’s time to recalculate your budget. From the top of the Budget tab, click the update icon (looks like two arrows spun into a circle) at the top of the page and recalculate your budget.
Important: Recalculating your budget will reset and permanently delete any previous manual changes you’ve made to your budget such as budgeted amounts and tracked categories.
#
Customizing Your Categories #
Once you’ve got your accounts connected and your budget created, it’s a good next step to be sure Piere’s default categories look how you want them.
#
Adding a custom category #
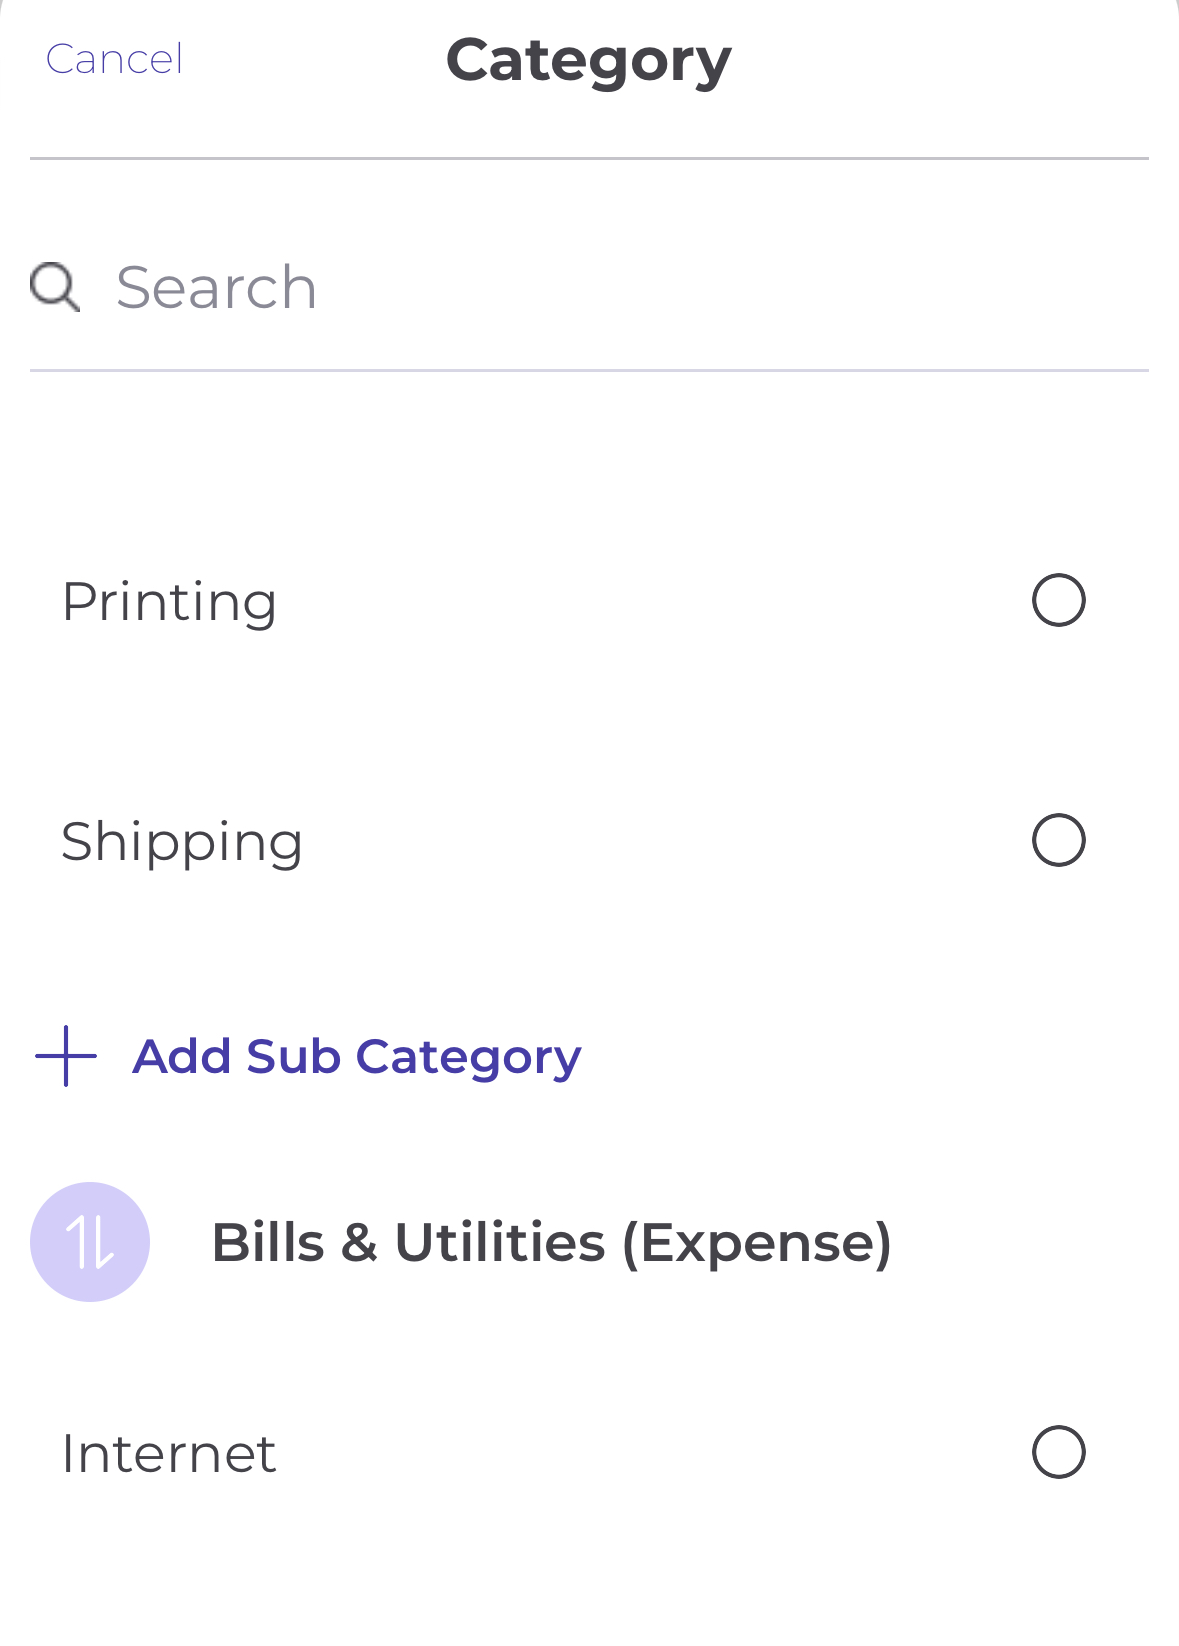
- If Piere’s default categories don’t quite match how you label and understand your spending and saving, you have the option of creating a custom category where you can group your transactions.
- From the Home tab, scroll down to “Recent Transactions and then tap “See All Transactions.”Select any transaction that belongs in a custom category, and tap the pencil icon next to the category field. Under the correct category heading click “Add Sub Category” to type your custom category name, then click “Done” before exiting.
How do I track an additional category in my budget? #
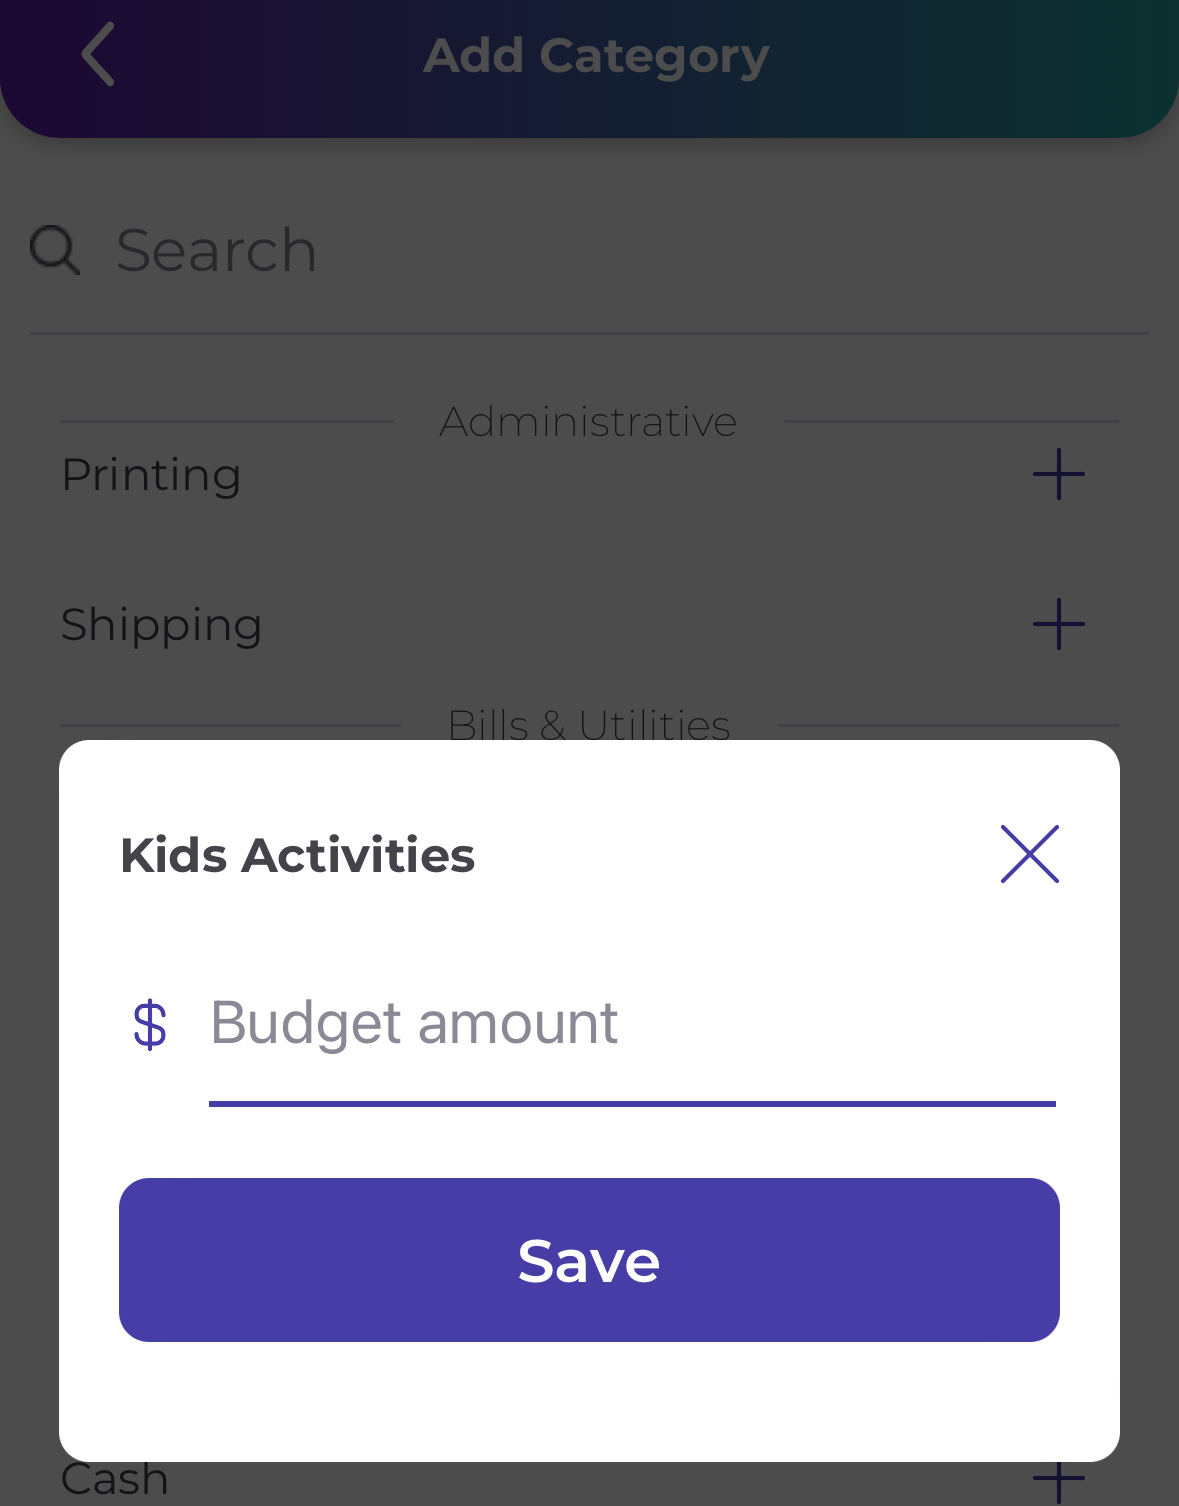
- To track a new category within your budget, from the Budget tab click the plus “+” icon at the top of the page, choose the category you’d like to add, enter its budgeted value, and click “Save.”
Change a transaction’s category #
- If a transaction is displayed in the app with the wrong category, simply tap it, then tap the pencil icon to the right of the category name. Choose the correct category from the list and click Save before exiting.
Organize your transactions with tags #
- Access the Transactions page by selecting “See all transactions” from the Home tab. From there, tap on any transaction and you’ll have the ability to enter tags to help keep your transactions organized and more easily discoverable.
Have a question that you don’t see the answer to? Submit a request and someone from our team will get back to you!